Creating a Jekyll website on DigitalOcean.com
Building a website always seemed to be a daunting task until WordPress was created. Depending on your skill set that statement might not be true but then you wouldn’t be here anyway 😄.
I started building Geocities websites when those were popular, skipped to WordPress websites, and now learning about Jamstack sites. If you are familiar with these platforms you’ll notice they are mostly WYSIWYG tools for building websites.
WordPress has been fantastic to have as a tool but I’ve found them always slow to load and generally overly feature-rich for my needs.
From Geocities to Jekyll
In my head I classify the transition of web technologies as follows:
Geocities -> static sites ( built with a tool )
WordPress -> "dynamic site" because it has a database
Jamstack  -> static sites ( built with a tool )
Geocities were built with WYSIWYG tools and pure HTML. We were doing the majority of the theming by hand. Jamstack sites started out similarly but with the addition of tools that generated the static site based on simplified input (markdown). These days Jamstack includes dynamic sites built with React library, Vue framework, and many other frameworks that make dynamic sites + static frontend.
What’s an example of a static website on Jamstack? Jekyll https://jekyllrb.com/
Jekyll is a server, CSS, and HTML that lets you type in markdown (essentially text) and let you render a static website. This website can be deployed free via any host. Static websites are quick to load and are “good enough” for most people who simply want to blog/share info.
Overview of the process
The entire process of installing Jekyll is:
- Setup a GitHub account.
- Create a new empty repo.
- Clone the repo to your machine.
- Follow the Jekyll quickstart to create a new Jekyll site.
- Commit and push.
- Setup a Digital Ocean account to deploy the static website.
- Connect your domain to the Digital Ocean deployment.
For the purposes of this tutorial, I assume you already know how to use GitHub and have a bit of dev knowledge.
Installing Jekyll
- Follow the Jekyll quickstart steps and ensure you can get Jekyll running.
- In your
Gemfileadd/replace Ruby and Bundler with their latest version. For me they ended up being:ruby "~> 3.1.2"gem "bundler", "~> 2.3.16"
- Chances are you are using Jekyll 4 and you’ll need to add the Webrick gem to run the server locally:
- Add
gem "webrick", "~> 1.7"to yourGemfile
- Add
- Run bundle to install the gems:
bundle
- Currently your gems build only for your machine, if you don’t already have
x86_64-linuxarch then you’ll need to run:bundle lock --add-platform x86_64-linux
git commitandgit push
Deploying via DigitalOcean.com
- Create an account and a project name
my-static-websites - Under the
Appmenu create a new app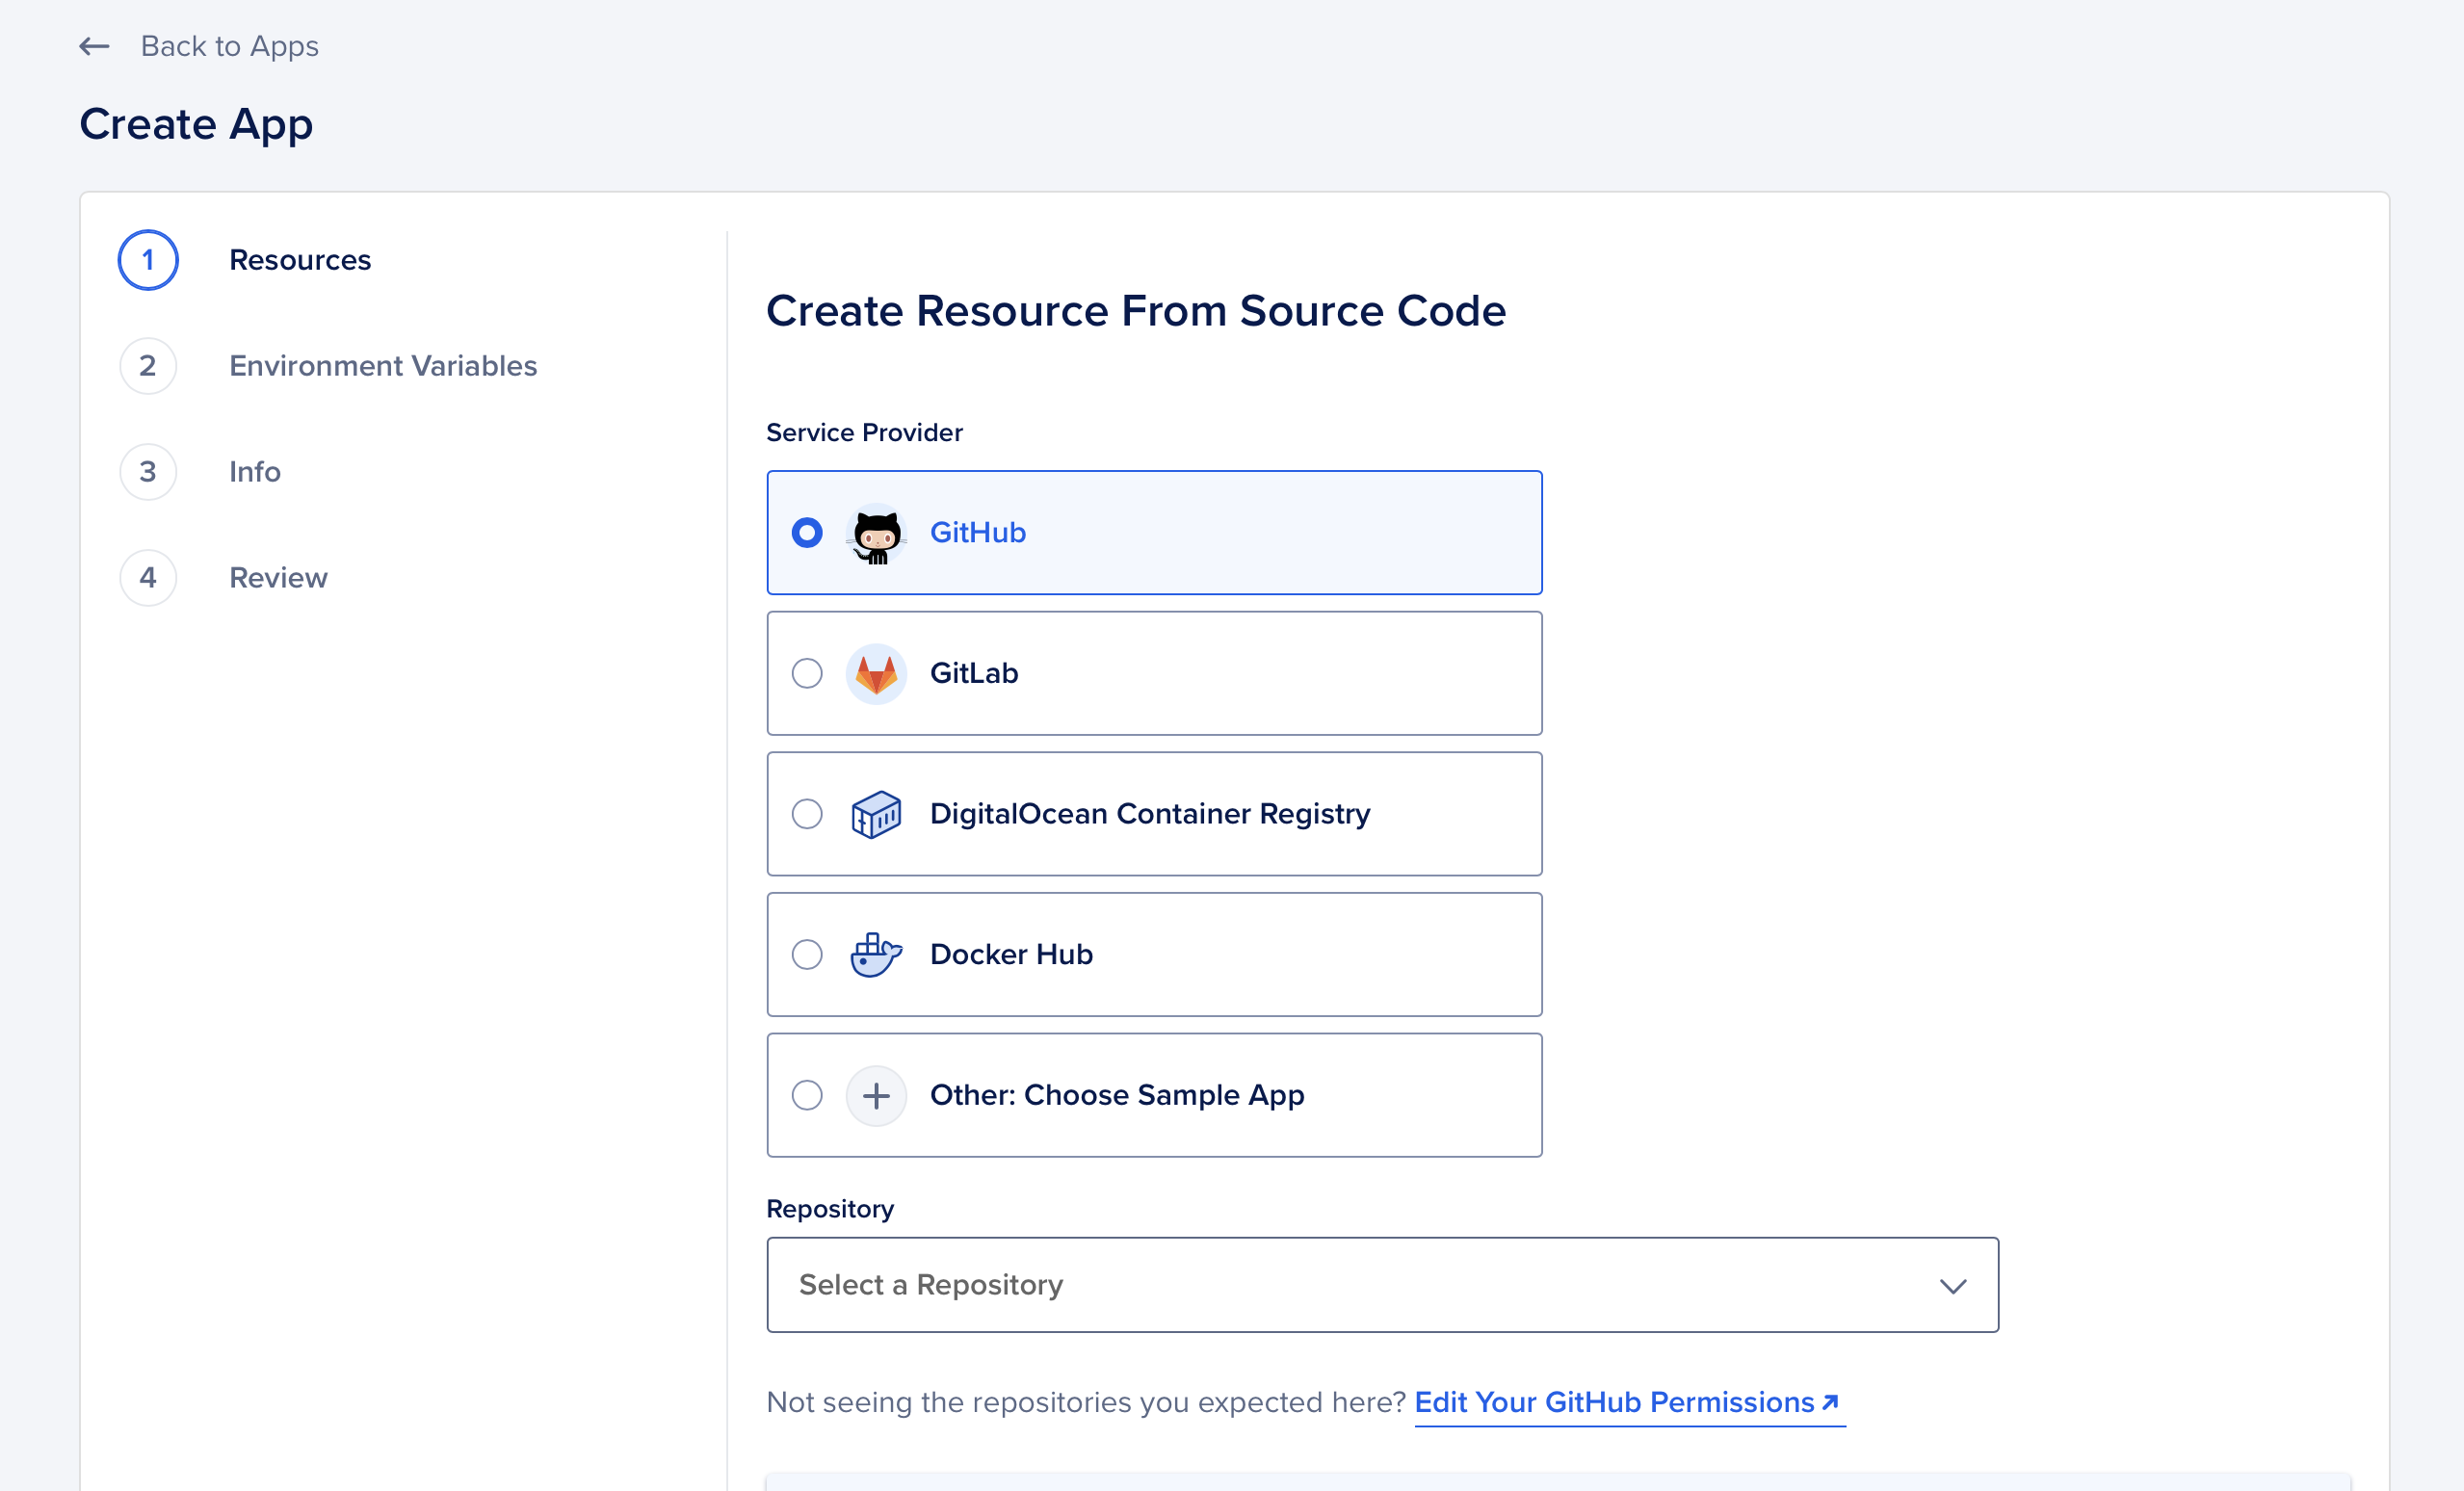
- If you haven’t yet click the “Edit Your GitHub Permissions link” before selecting the Repository that has your Jekyll website
- Make sure to change/set the project type to a “Static Website” to get a $0.00 invoice.
- Replace the default
Commandsfor building the Jekyll site to:JEKYLL_ENV=production bundle exec jekyll b
- Replace/set the
Output Directoryto:_site
- Wait for the project to deploy.
- Go to App > Settings > Domains. Click the
Add Domainbutton.
- Copy the CNAME entry and go to your domain registrar to enter the
www <Digital Ocean domain>CNAME entry.
- Copy the CNAME entry and go to your domain registrar to enter the
- DO NOT click anything.
- WAIT for 24 hours and then go to the final section
Wait for 24 hours to and repeat the add domain process
You may see your domain connect to the DigitalOceans app quickly but there’s no guarantee. It’s safest to wait 24 hours for the DNS records to propagate worldwide.
- Go back to Digital Ocean > App > Settings > Domain.
- Click the “Add Domain” button
- Finalize the process and wait for Digital Ocean to recognize the new domain.
At this point, you should have a newly deployed Jekyll website.
No go out there and share your creative energy with others.